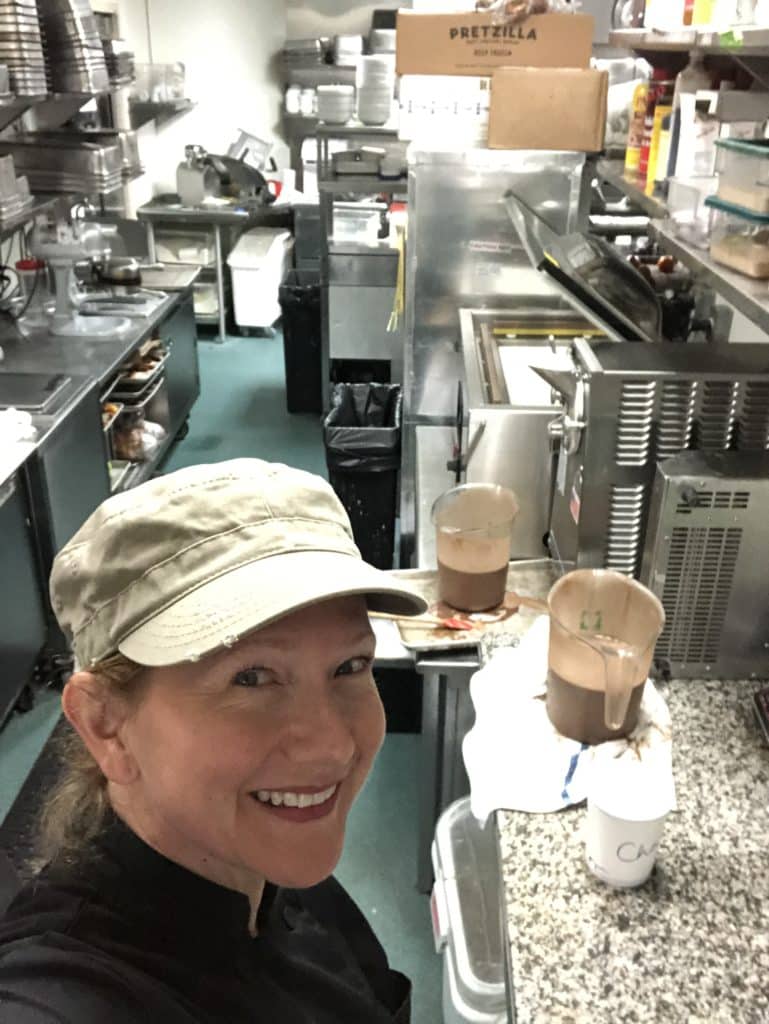
This past weekend's featured dessert, Upside Down Key Lime Pie, at the Firefly was a HUGE success! Since they went over so well, I thought I would share the recipe with you and a few behind the scene pics from my time at the Firefly.
Why Key Lime Pies?
The main reason I chose individual key lime pies to present to Niall is because they capture the Firefly's key philosophy:
OUR FOOD is made from the best stuff on earth! ...Our philosophy is simple; source the best ingredients possible and stay out of their way.
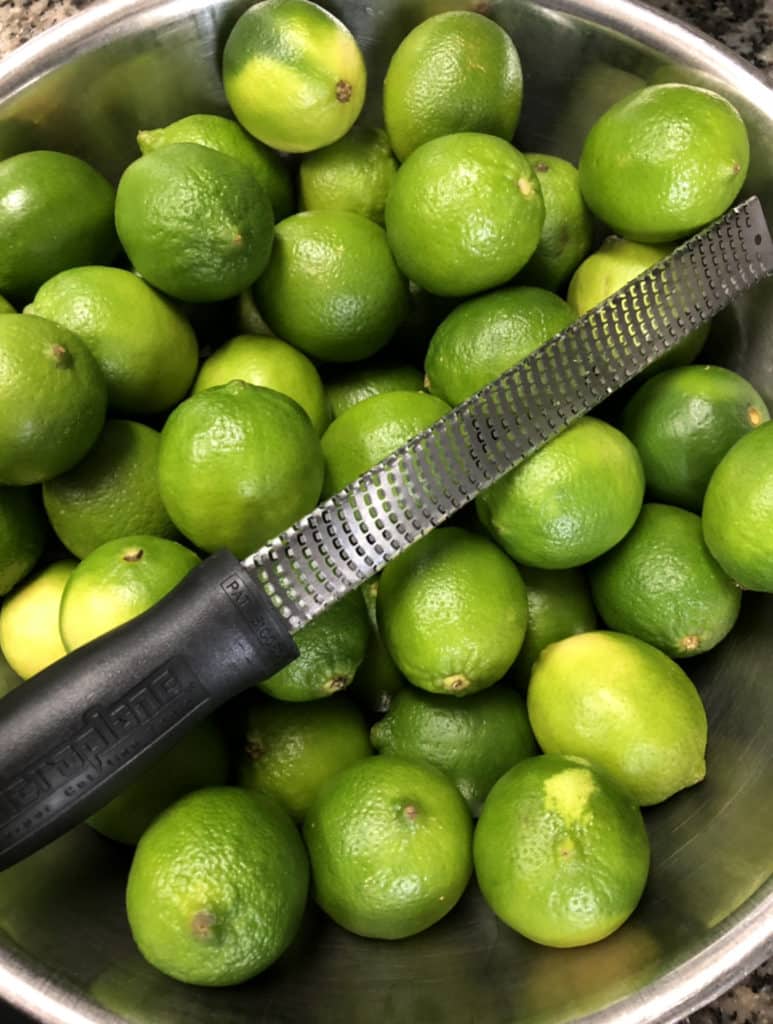
 A really good key lime pie does exactly that! Instead of looking for bottled lime juice, take the time to squeeze your own. It's worth it! Granted, it's a hellava lot easier to juice 5 ounces for 4 little individual key lime pies than it the 64 ounces I did last weekend for 48 mini individual ones!
How to make your own individual key lime pies... upside down!
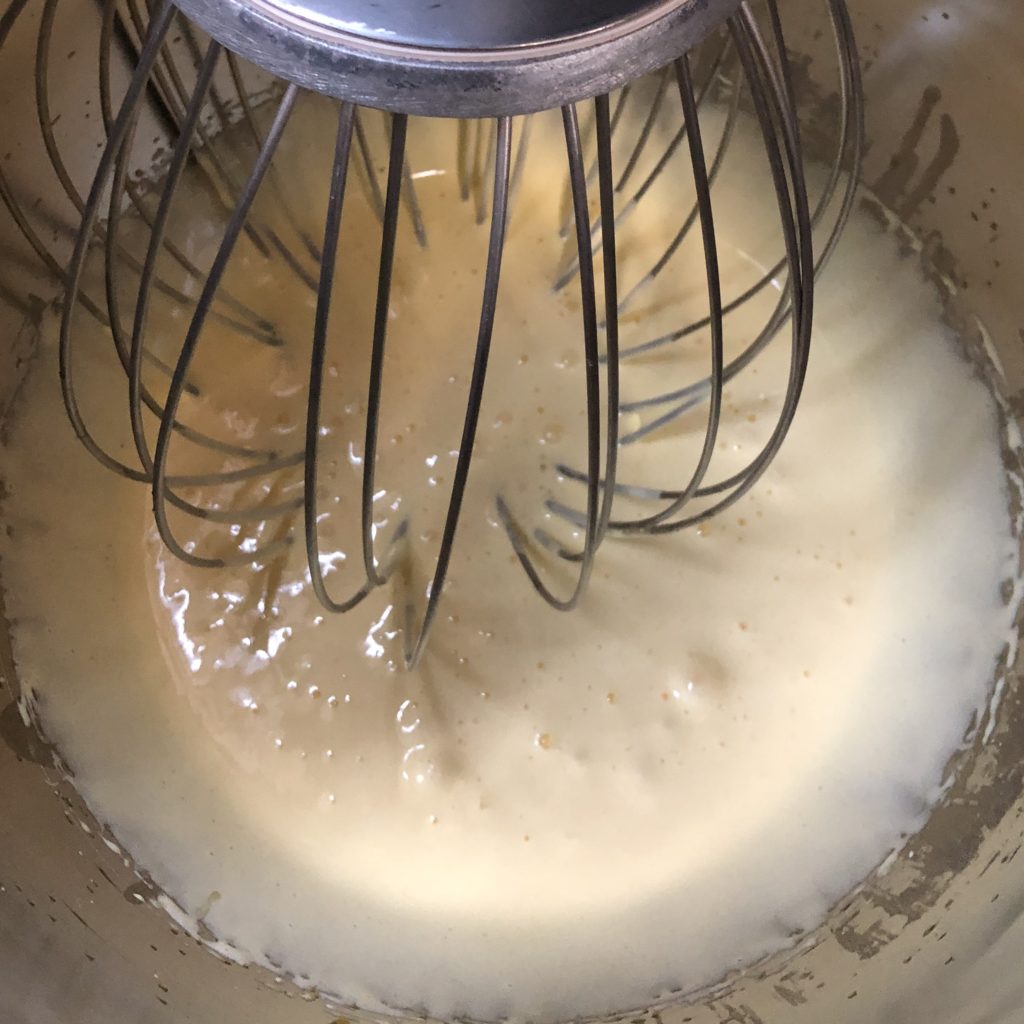
- With an electric mixer, whip 3 egg yolks until they are pale yellow and have reached the ribbon stage.
- Zest 1-2 limes to get 1 tablespoon lime zest and squeeze enough limes to get 5 ounces of lime juice.
- After the yolks are very pale yellow and have increased in volume, add 1 can (14 ounce) of sweetened condensed milk, juice and zest and mix for another 2 minutes so they really get to know each other!
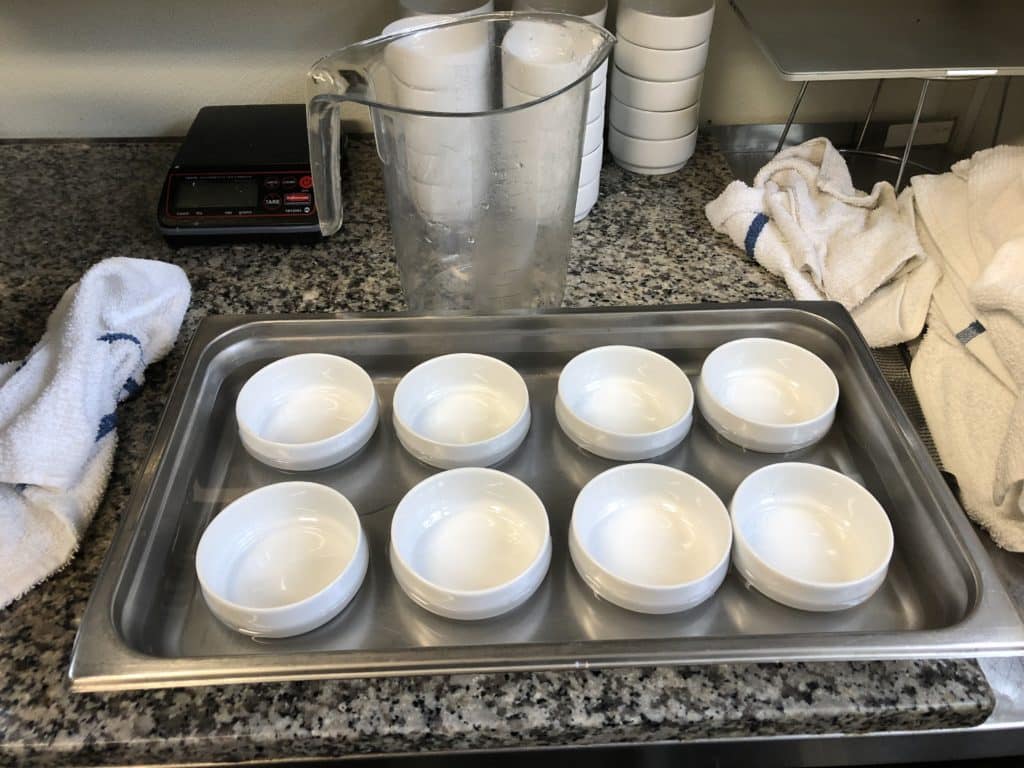
- Pour 5 ounces of key lime mix into 4 individual flat bottom oven safe vessels.
- Put these in a casserole dish (make sure they are not crowed and have plenty of elbow room) and put in a preheated 300F oven. Pour steaming hot water into the casserole dish until it come ½ way up the sides of the key lime pies.
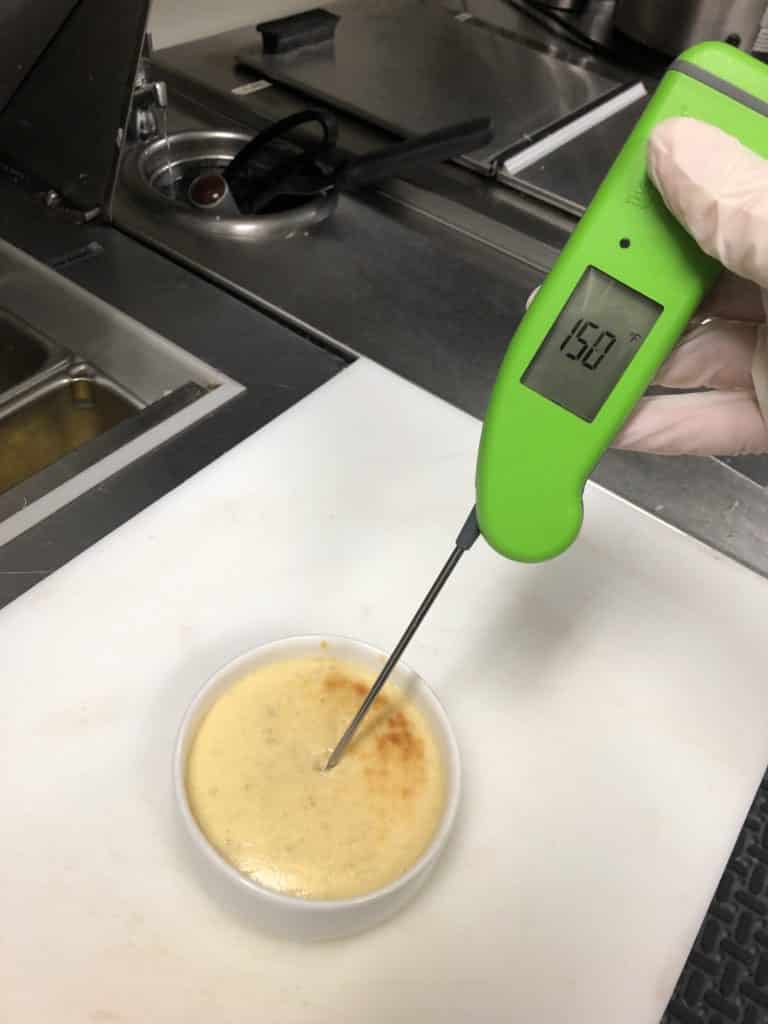
- Bake until they are set, about 8-12 minutes. No fan. They're done when the internal temp reaches 145F.
- Let cool and refrigerate.
- Put 6 graham crackers, 1 tablespoon sugar & 1 teaspoon cinnamon in a food processor or pound with a mallet in a zip lock bag. Blitz or pound until complete pulverized and it looks like sand.
- Slowly stir in 4-6 tablespoons of melted butter until it looks like slightly wet sand. It should clump together with pressed, but it should still be somewhat loose.
- After pies are completely cool, lightly press graham crust on top.
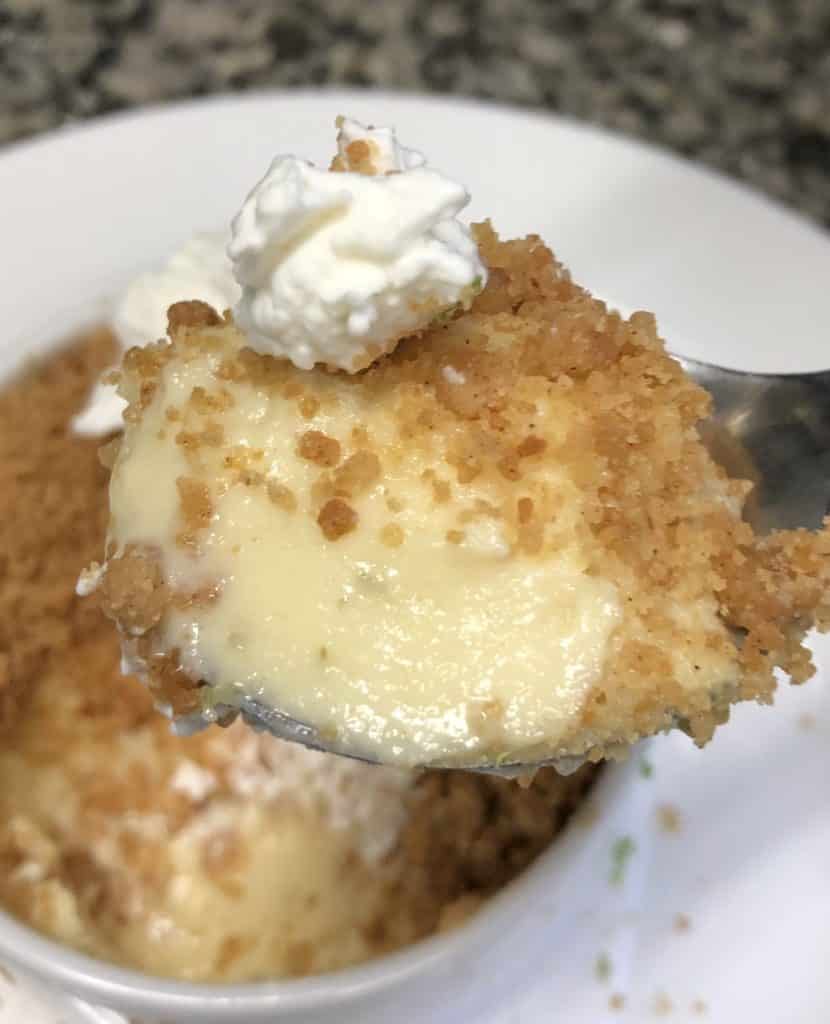
- Serve with whip cream and top with lime zest.
Dark Yellow to Pale Yellow
Whipping the yolks is crucial to a light smooth key lime pie!
From this... 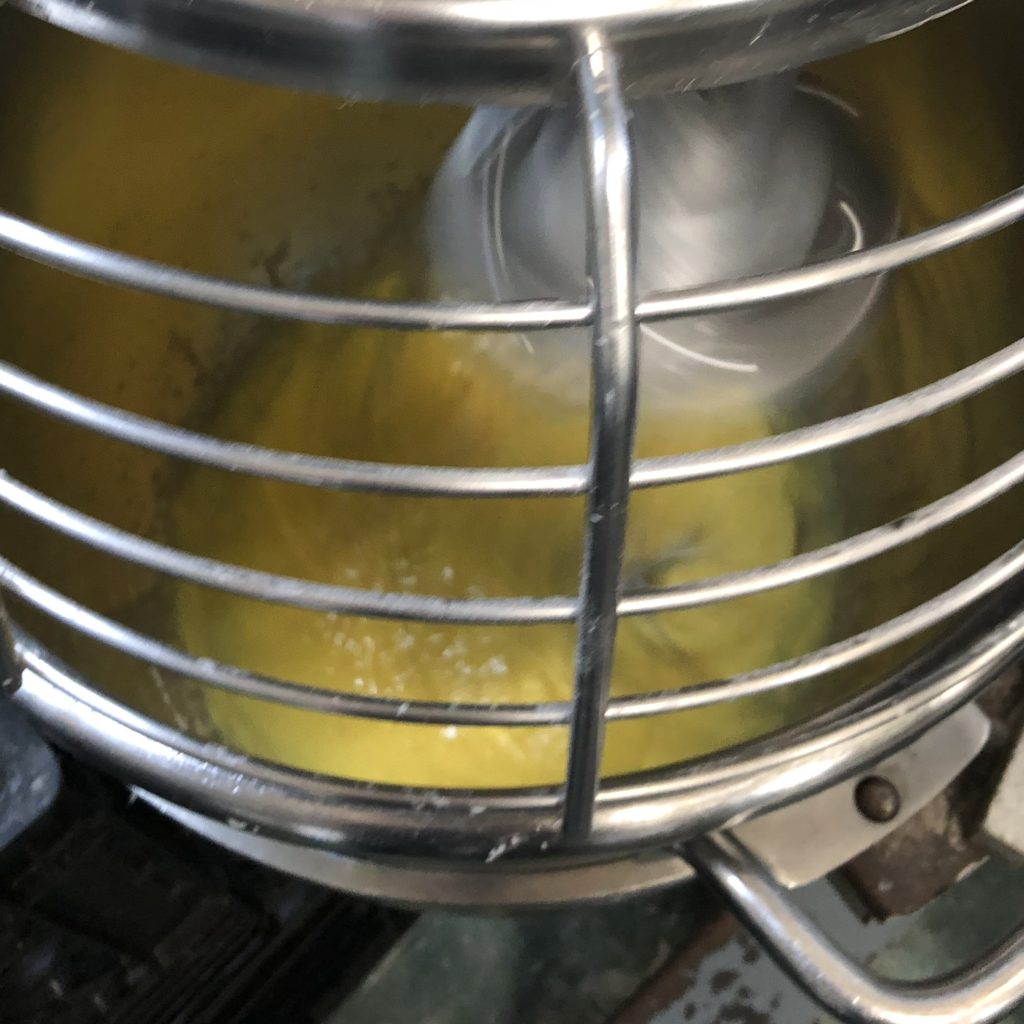 To this...
Why Upside Down?
Since these are individual key lime pies, if you bake these little pies with the crust on the bottom, the key lime custard mixture bakes into the crust and makes it hard and difficult to eat. 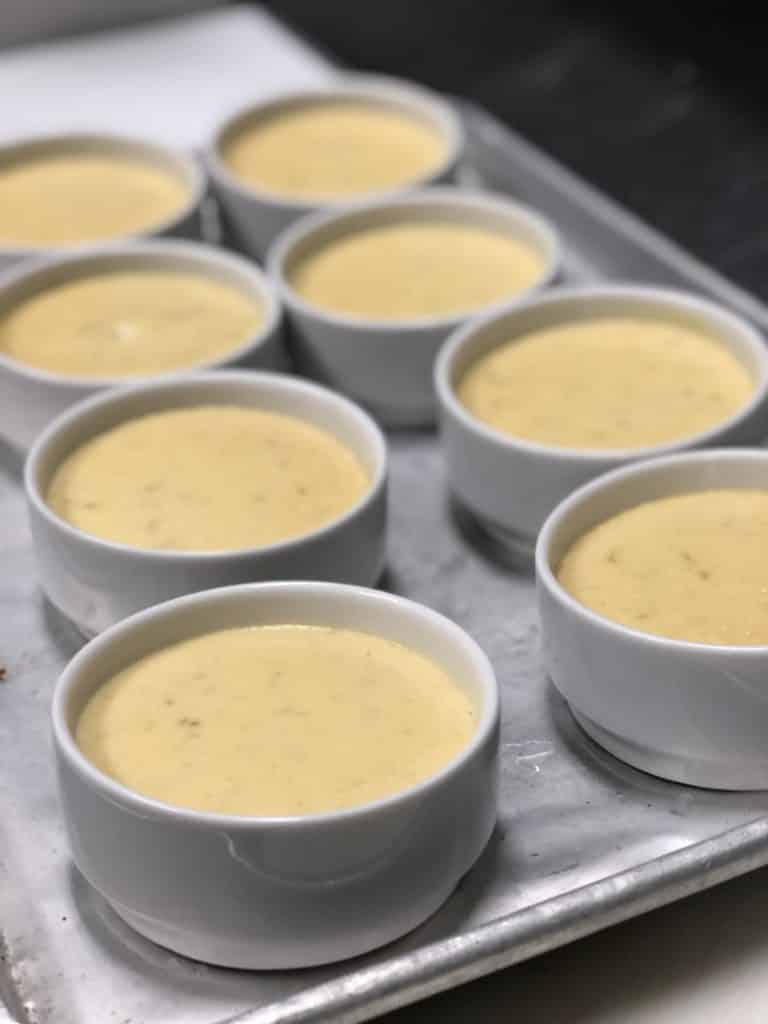
This isn't the case when making large pies because the piece of pie is lifted out of the whole and you are able to attack it from all angles on your plate. Not so when dining from a small vessel. Plus, topping your key lime pie with a light buttery graham crust hides any and all imperfections that might have occurred in the oven! Bonus!!!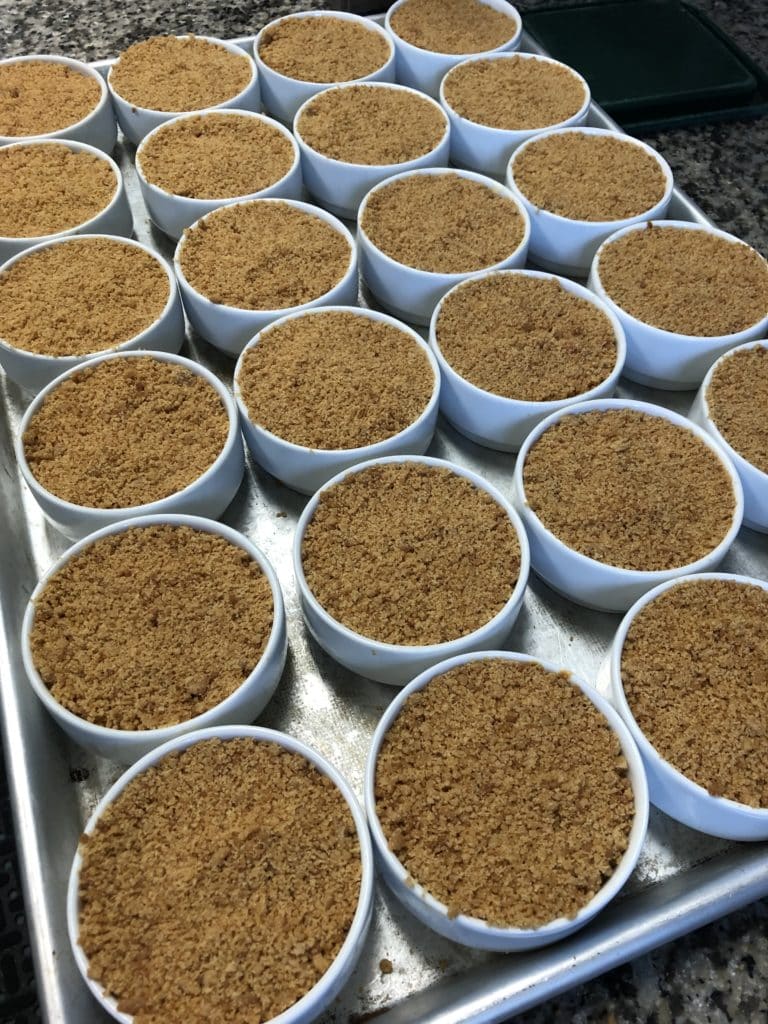
Why mini Key Lime Pies are perfect to make at home
I think these are simply brilliant to make at home mainly because the lime filling is tangy, sweet, zippy and fresh! When you get a bite of that with a creamy mouthful of whip cream mixed with just the right amount of powdery graham crust... Hmmmmmmmmm yeah baby! Pure delight!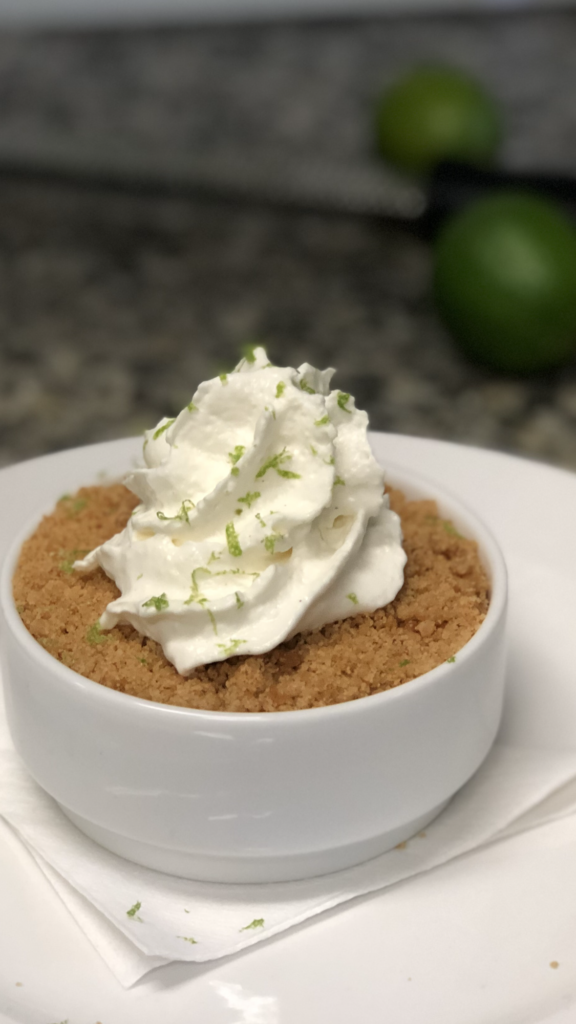
That reason aside, this is an easy recipe that very forgiving. If you're having a special dinner, you can make these up to 3-4 days ahead!
These make a great presentation and having individual portions allows you to make as many as you need without worrying about leftovers. Who am I kidding? You won't have any leftovers!
Tips for a flawless Key Lime Pie every time
- Really whip the yolks until they have increased 4x in volume and are very pale yellow.
- Don't bake these or any custards on a convection setting (ie. make sure the fan if OFF).
- Use a water bath. Seriously, it's the only way to go.

Pro tip: For your water bath, measure out how much water to use before taking your custards to the oven - Take their temperature! When the middle of the pies' temperature reaches 145F, take them out. If you don't have an instant read thermometer, check out Thermapen. I love mine!

Do I have to use Key Limes for a key lime pie?
No.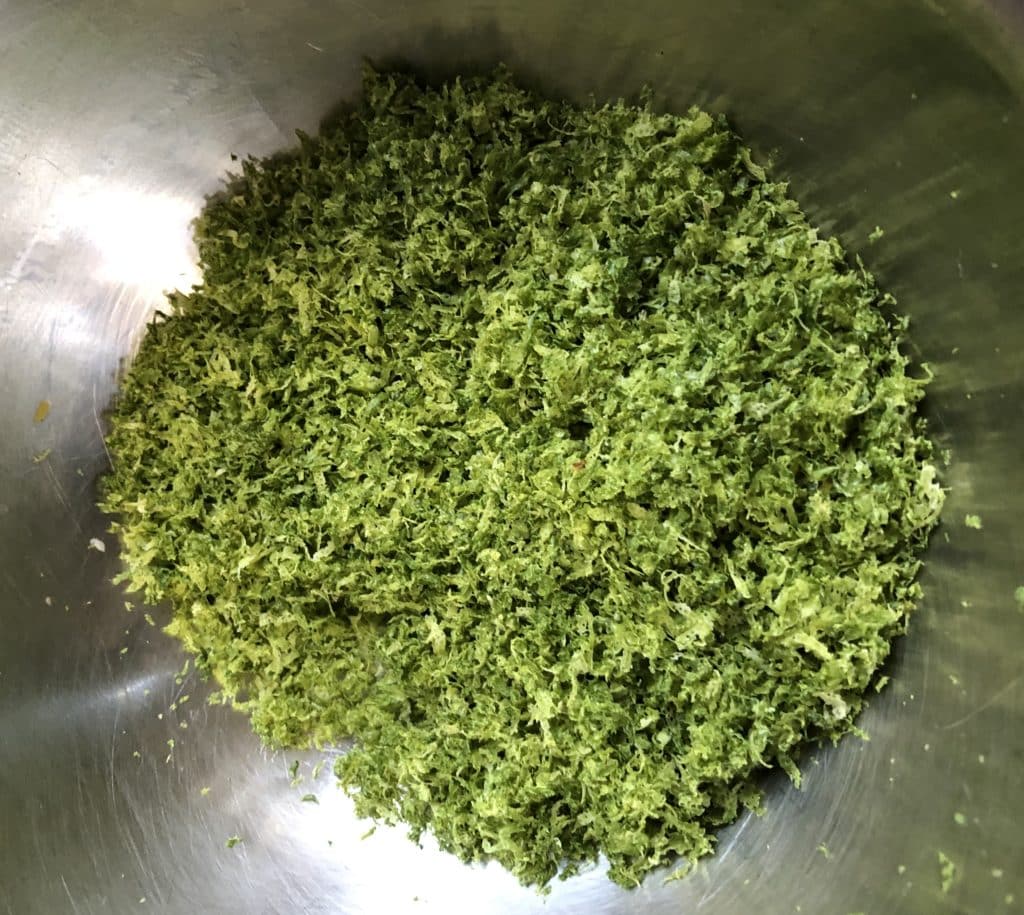
I've made this pie with key lime juice and with regular limes. Truly, I could not tell a difference. Key limes are so small, they hardly have any juice and they are much harder to zest.
Go with the big guys. Keep the key limes for topping your Corona's.
Variations
Ok, so you don't want to go all topsy turvy and turn your pie upside down. I get it. Here are some easy ways to put the crust back on the bottom and still keep your key lime pies single serving.
- Easiest hack of all: use Keebler's Ready Crust Graham crusts. Fill and bake at 300F for 8-10 min (until set). I don't use a water bath for these since their very light and small.
- Large muffin pan: Pack the graham cracker crumbs into cupcake liners in a large muffin tin. Fill with key lime filling and bake in water bath as directed above.
- No bake variation: Mix 5 ounces lime juice and zest with 3 cups Cool Whip. Top with graham (for upside down pies) or spoon into mini graham crusts. Freeze for 2 hours. (Thanks cousin Joyce!❤️)
More great desserts from Lakeside Table
Buckeye Peanut Butter Chocolate Balls
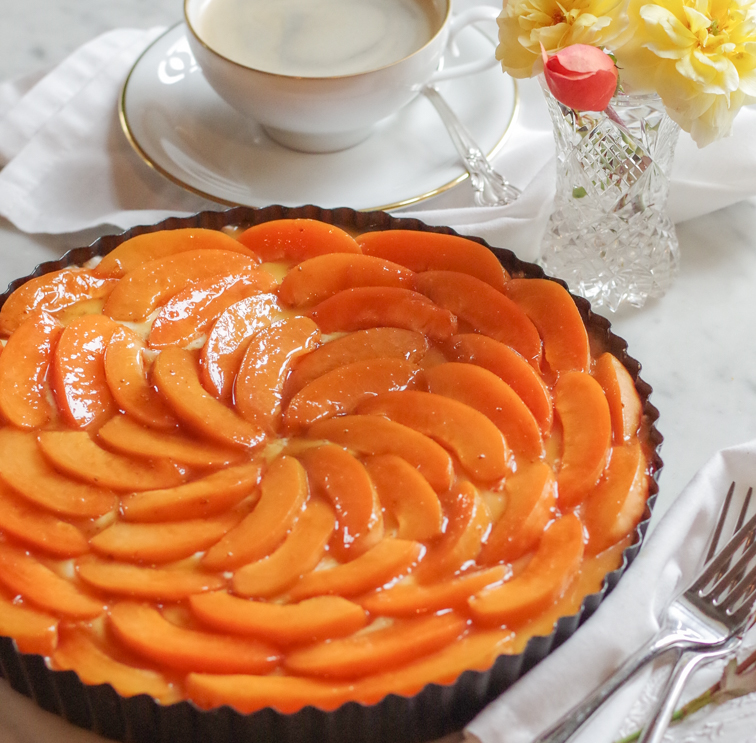
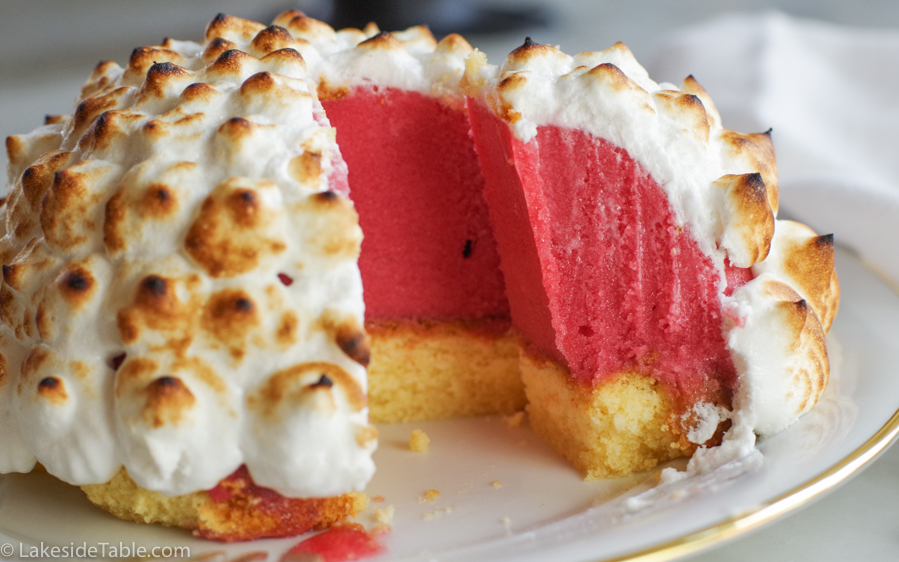
Texas Layer Chocolate Sheet Cake (Just made this for Jerry's birthday!)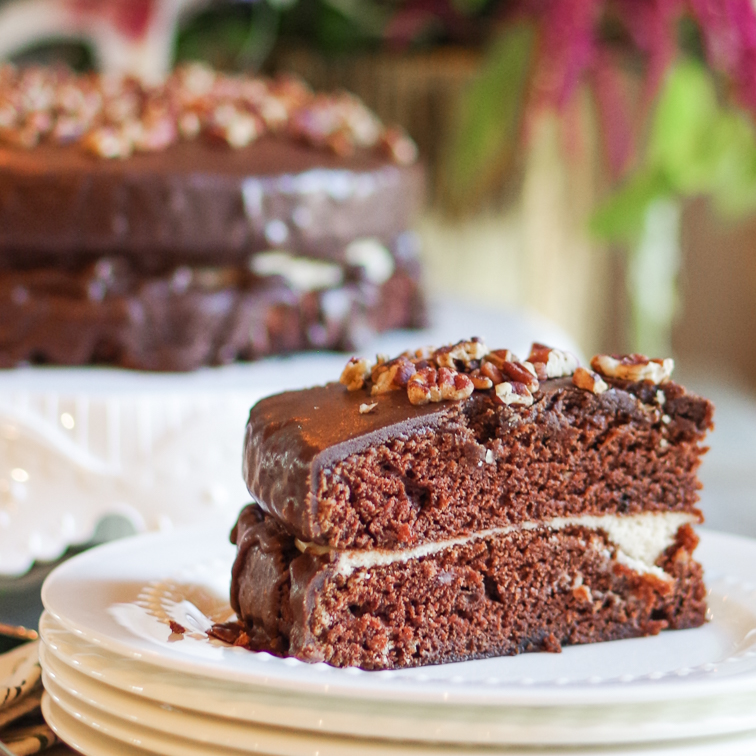
Espresso Panna Cotta (So easy and very satisfying... Thanks Deb! ❤️)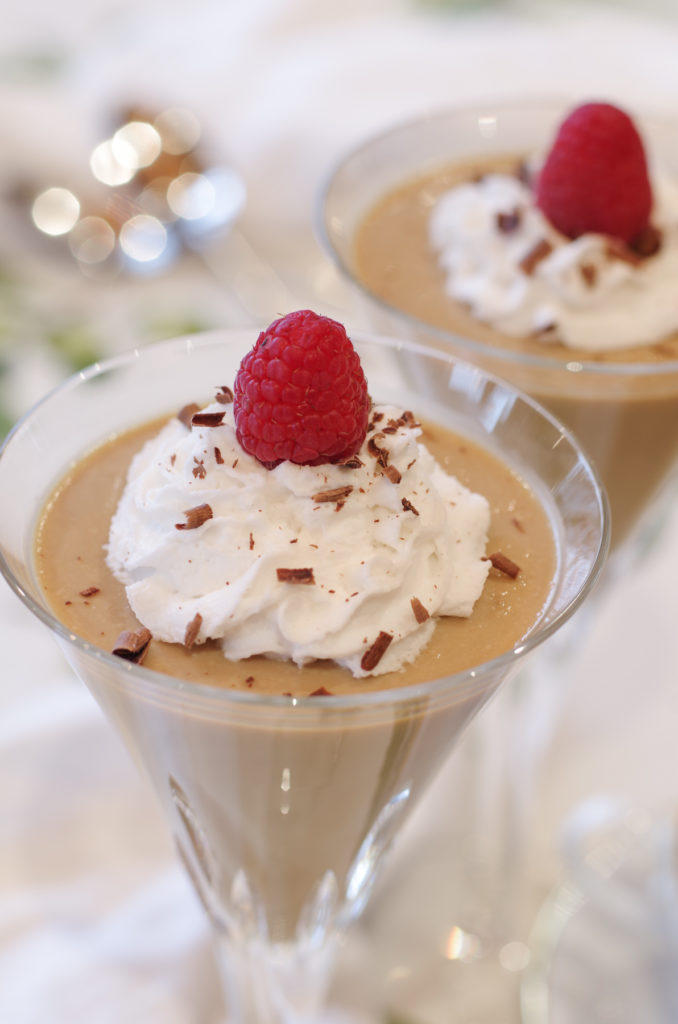
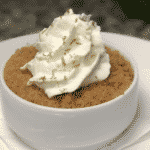
Individual Key Lime Pies
Individual key lime pies are simply brilliant to make at home. Mainly because the lime filling is tangy, sweet, zippy and fresh! When you get a bite of that with a creamy mouthful of whip cream mixed with just the right amount of powdery graham crust... Hmmmmmmmmm yeah baby! Pure delight!
Ingredients
Key Lime Filling
- 3 yolks
- 1 can sweetened condensed milk 14 ounces
- 5 ounces lime juice fresh
- 1 tablespoon lime zest
Graham Cracker Crust Topping
- 6 graham crackers
- 1 tablespoon sugar
- 1 teaspoon cinnamon
- 4 tablespoons butter melted
Whip Cream
- 1 cup heavy whipping cream
- 3 tablespoons powdered sugar
- 2 teaspoons vanilla extract
Instructions
Key Lime Filling
-
Preheat oven to 300F and boil 8 cups of water in a kettle.
-
Whisk yolks with electric mixer until they are pale yellow and have increased 4x in volume.
-
Reduce mixer speed and slowly add 1 can of sweetened condensed milk, zest, and lime juice. Mix until well combined.
-
Divide filling between 4 small vessels. (Approximately 5 ounces in each.) Leave at least ¾ inch at the top.
-
Create a water bath: put the vessels in a casserole dish in the oven. Do not crowd them. Carefully, without splashing, pour the boiling/steaming water into the casserole dish until it reaches ½ up the sides of the pies.
-
Bake for 8-12 minutes or until internal temperature of custards reach 145F
Graham Cracker Crust Topping
-
Pulverize graham crackers, sugar, and cinnamon in a food processor or in a zip lock with a mallet.
-
Slowly pour melted butter into cracker crumbs. Add just enough that it resembles damp sand, but is not soaked.
Whip Cream Topping
-
Whisk heavy cream, powdered sugar and vanilla until you get medium soft peaks.
Putting it all together
-
Let custards cool completely. Then top with graham cracker crumbs, whip cream and lime zest.


Karen says
What size ramekin or ounce did you use when baking the filling?
Madalaine says
I experimented with a 8 ounce and a 12 ounce. I liked the larger one better. Make sure the water line of the water bath is higher than the custard. The custard should be at least 1/2 inch below the top of its ramekin. This leaves plenty of room for the graham cracker crust.
Meg says
I couldn't even get to the ingredients before my mouth started watering!
Surya says
Love this!