This Chantilly Cream Recipe (Creme Chantilly) is a lightly beaten cream that's quick and easy to make. It's light and sweet, which makes it the perfect topping for berries. Add a touch of mascarpone cheese, and it becomes a stable cake filling too!
EXTRA: Try this simple trick to make stabilized chantilly cream. It will stay light and fluffy for 2 to 3 days without leaking liquid. This way, it can be made ahead of time!

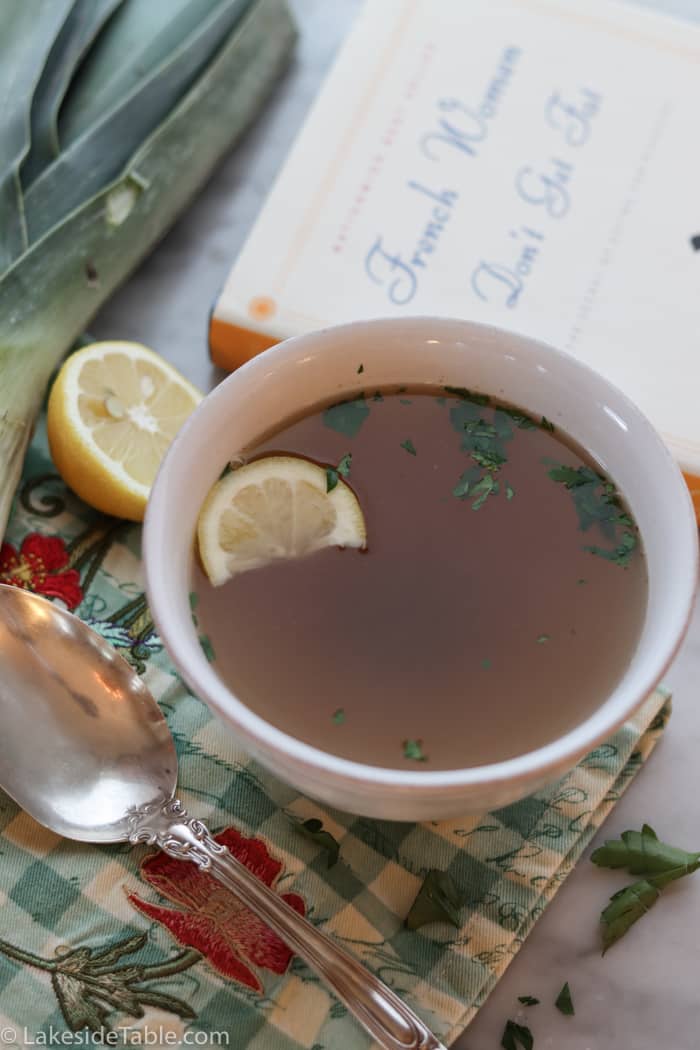
I found this chantilly cream recipe as I was photographing my way through Julia Child's Mastering the Art of French Cooking, Vol. 1. I had forgotten what a simple and luscious addition it is to summer berries.
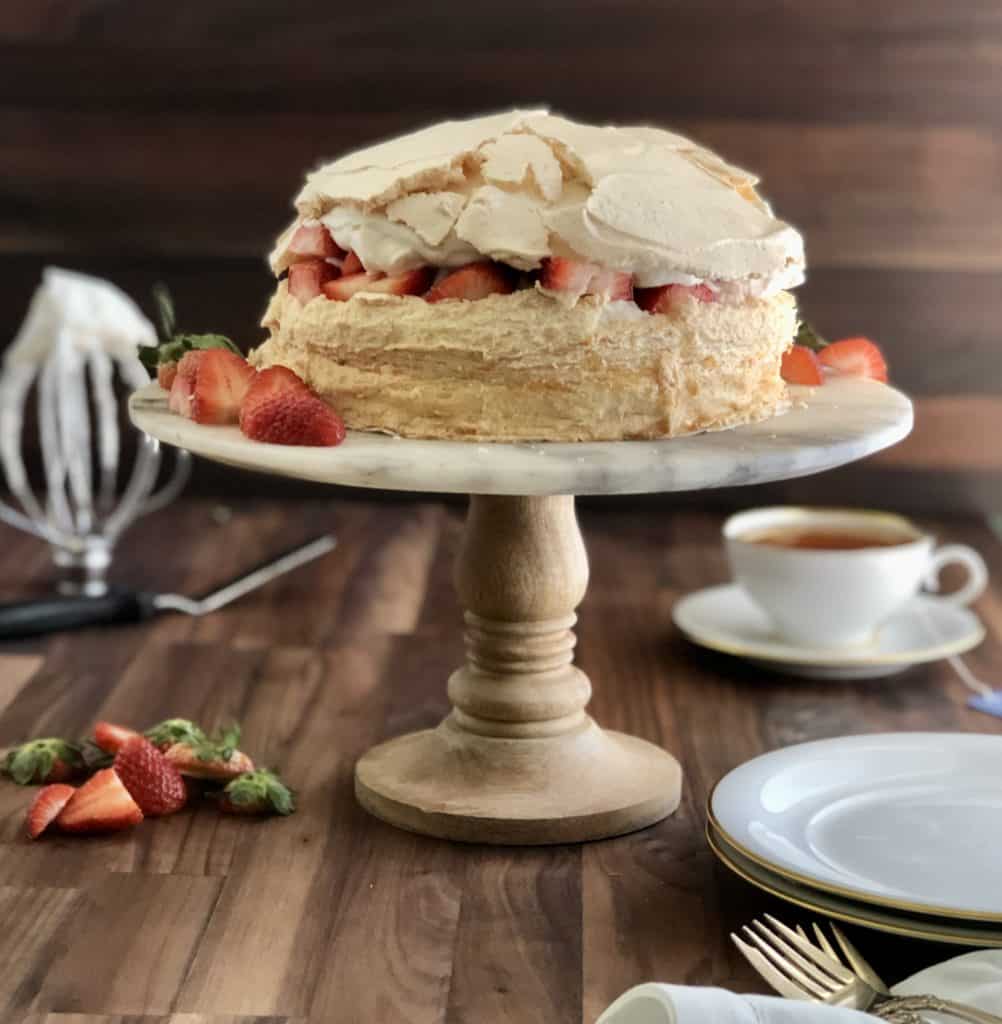
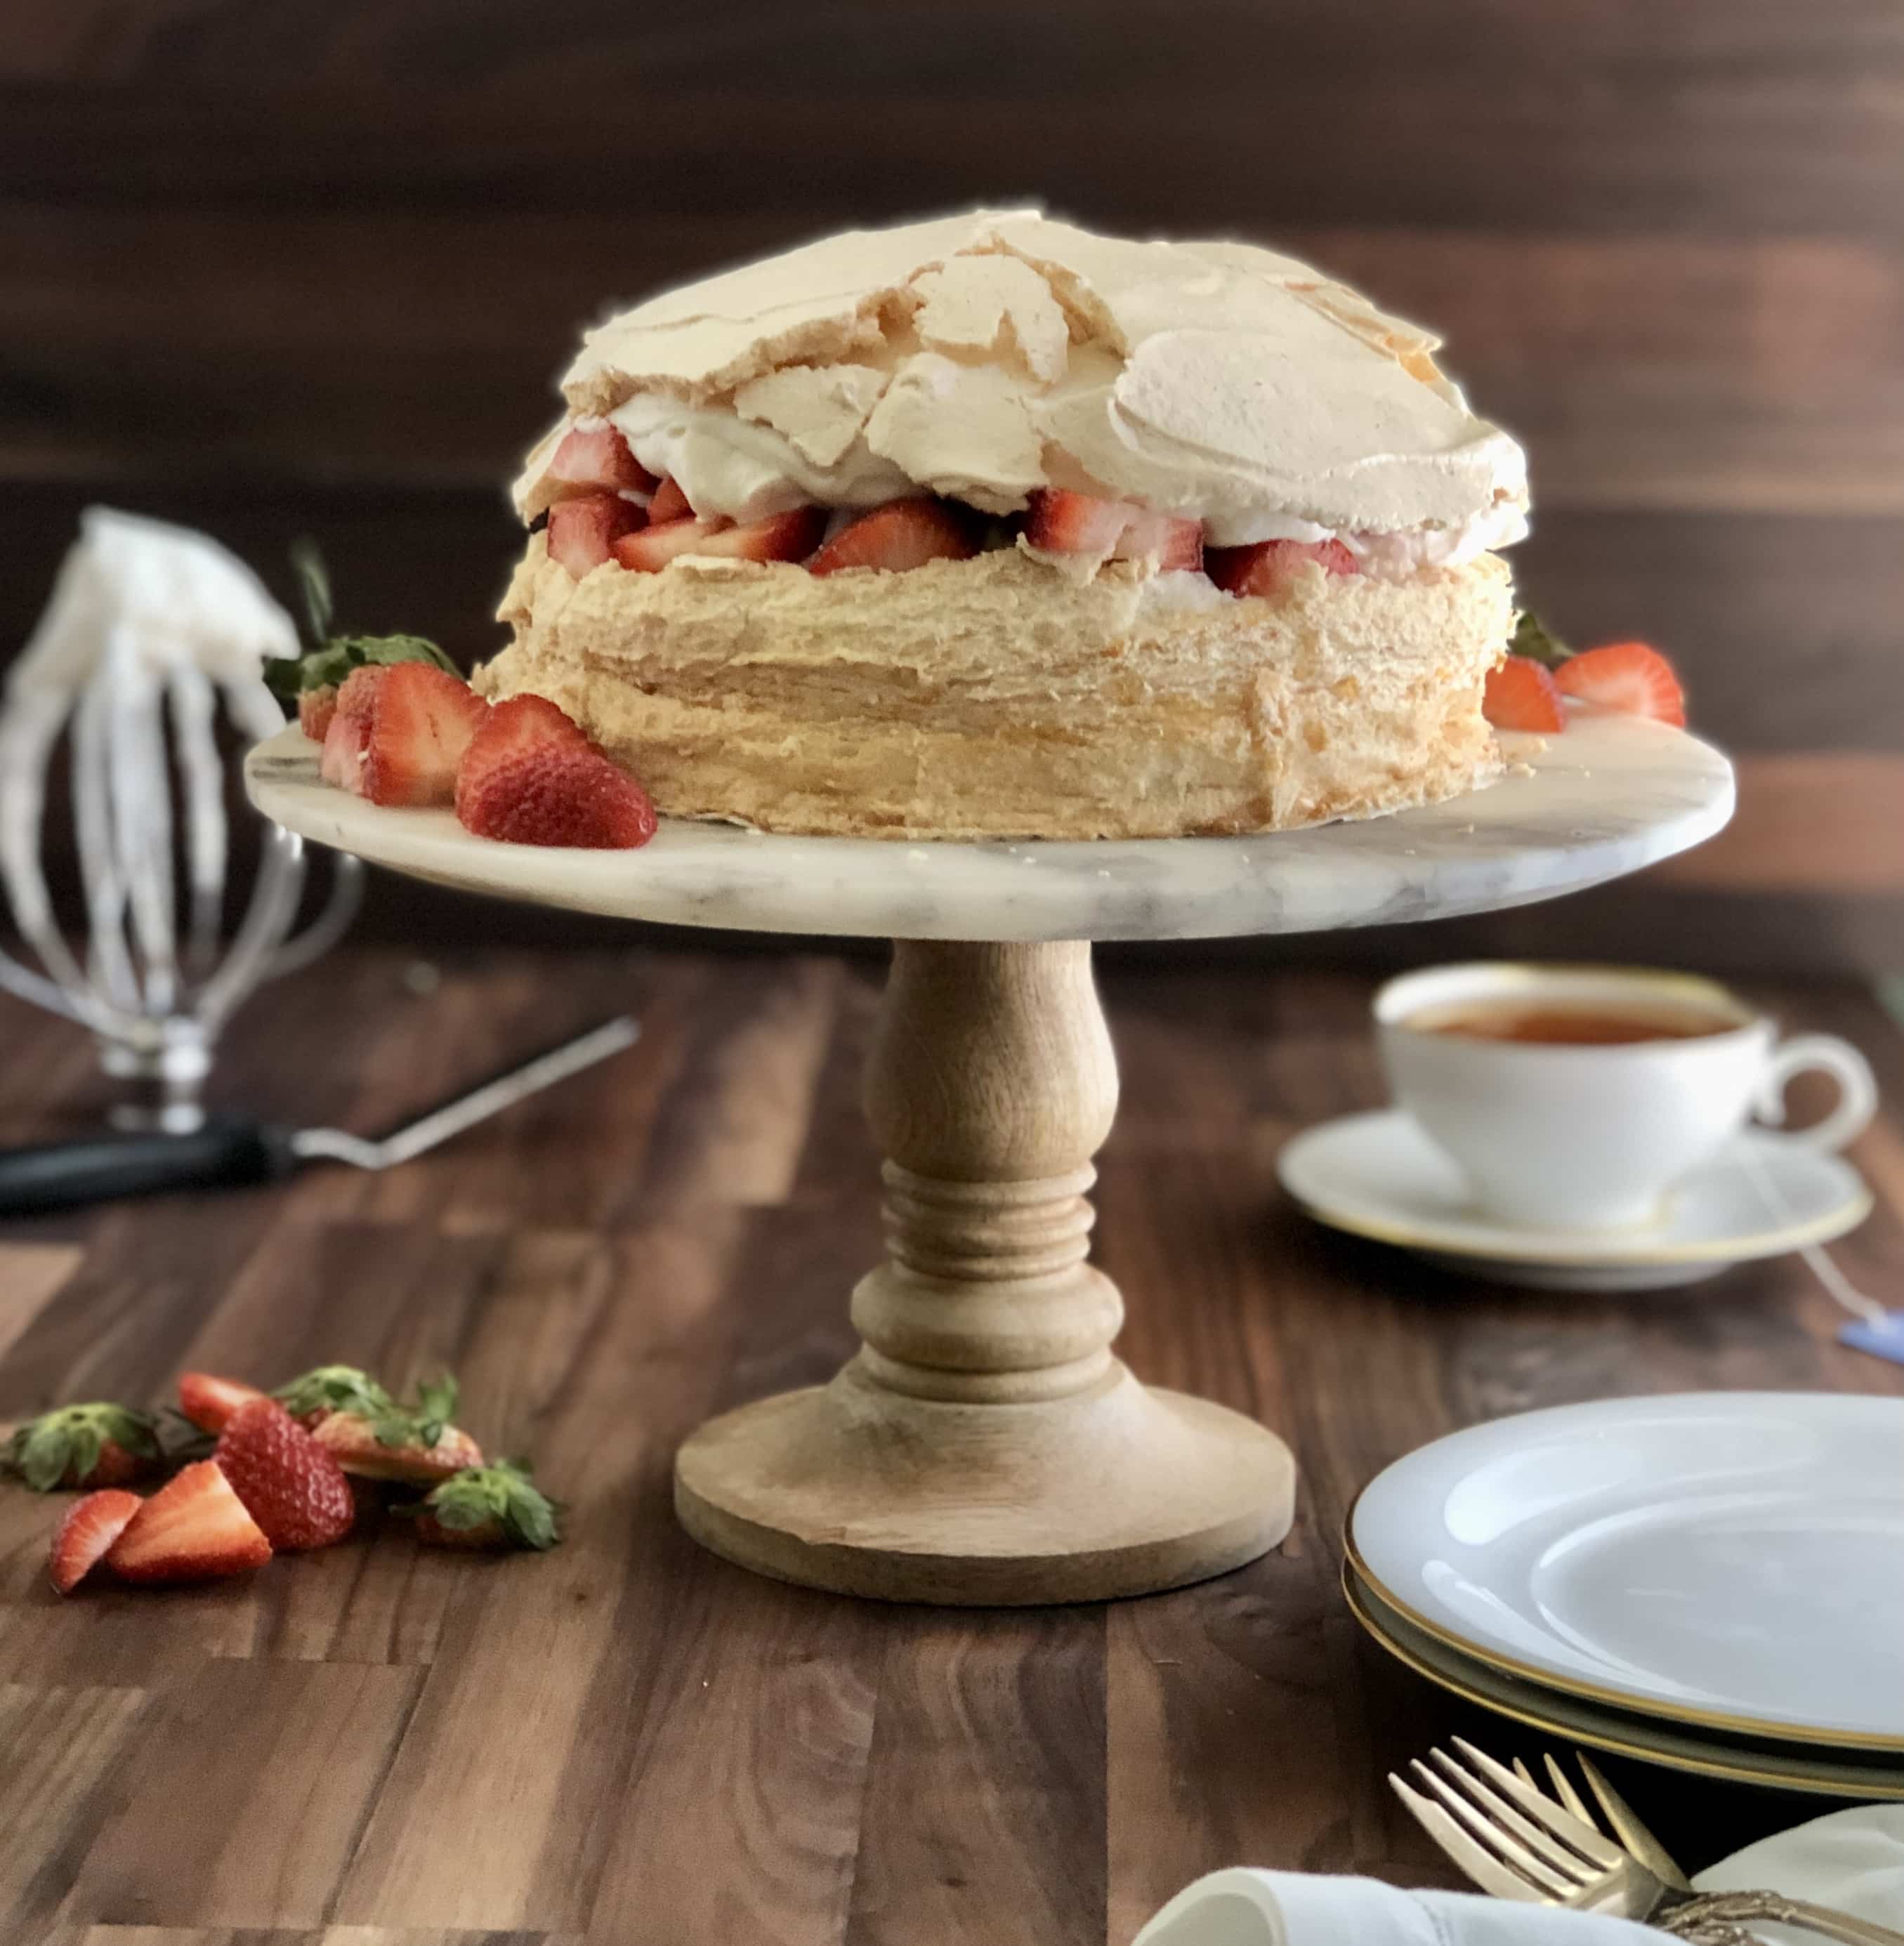
My popular strawberry schaum torte inspired this recipe. Whip up a little crème chantilly and layer it into the sweet meringue shell with the strawberries for instant bliss. (Hint: So perfect for Easter and Mother's Day!)
[feast_advanced_jump_to]Chantilly Cream Recipe Ingredients

- Heavy whipping cream - Do not substitute whole milk, half and half, or any nut milk. Also, the cream must be cold and fresh. If it's not, it won't whip up.
- Powdered sugar - This is also called icing sugar. Ultrafine bakers' sugar will work in a pinch.
- Mascarpone cheese (stabilizing option) - cream cheese can also be used, but mascarpone is preferred because of its lighter taste. It works so well because it "sets up" when refrigerated and doesn't change the flavor or texture. This means it won't weep or deflate overnight when you use it to fill an eclair, pipe it on a cupcake, or ice a cake.
- Optional flavorings: vanilla extract, vanilla bean, brandy, rum, or any sweet liqueur such as Baileys or Grand Marnier.
See the recipe card for quantities.
Chantilly Cream Instructions

Step 1: Pour cold cream, powdered sugar, and vanilla extract or vanilla bean into a large bowl. Add softened mascarpone if you want to stabilize the mixture.

Step 2: Beat it with a large balloon whisk by hand (3-5 minutes) or an electric beater (2 minutes). Whip mixture until the cream leaves ribbons and traces through the cream.

Step 3: Stir in additional flavorings of your choice (optional).

Step 4: The chantilly cream should retain a soft, billowy form when dropped onto a surface.
Hint: Beating the heavy cream by hand is best. It should only take 3 to 5 minutes to whip into soft peaks. I like this balloon whisk better than the one I use because it doesn't have to be hand-washed.
Be careful not to overwhip the cream. Overwhipped chantilly cream is lumpy, slightly yellow, and begins to separate. If you continue to beat it, it will separate into butter and buttermilk.

If you are using mascarpone to stabilize your whipped cream, use an electric mixer or beater.
Uses for Chantilly Cream
Here are some of my favorite ways to use chantilly cream:
- On top of pies
- Cake fillings
- Eclair and cream puff filling
- Over berries
- Holiday drinks like hot cocoa, eggnog, and hot buttered rum
- Piped onto cupcakes or used as frosting for cake (stabilized version)
How to Stabilize Chantilly Cream
Stabilizing chantilly cream is wonderful if you plan to use it in cream puffs, tarts, or eclairs. If you don't stabilize it, it will deflate within hours. However, stabilized, it will last in the refrigerator for 2 to 3 days.
- For each cup of heavy cream, beat ⅓ cup of room temperature mascarpone cheese first until it is soft and spreads easily.
- Then pour in heavy cream, powdered sugar, and vanilla.
- Whip until soft peaks form.
Mascarpone is an Italian cream that is thick and has the consistency of cream cheese. It has a milder flavor, and it's not as tangy as cream cheese. Best of all, it won't alter the flavor of your whipped cream.

If mascarpone is unavailable, beat a ⅓ cup of softened cream cheese with the liquid heavy cream. Taste it and add more powdered sugar if needed.
But if you can find mascarpone, definitely use it. It's the BEST for stabilizing chantilly cream.

Chantilly Cream Variations
This is where things really get fun. Depending on how you plan to use your crème chantilly is going to determine how you want to flavor it. Here are some ideas to get you inspired.

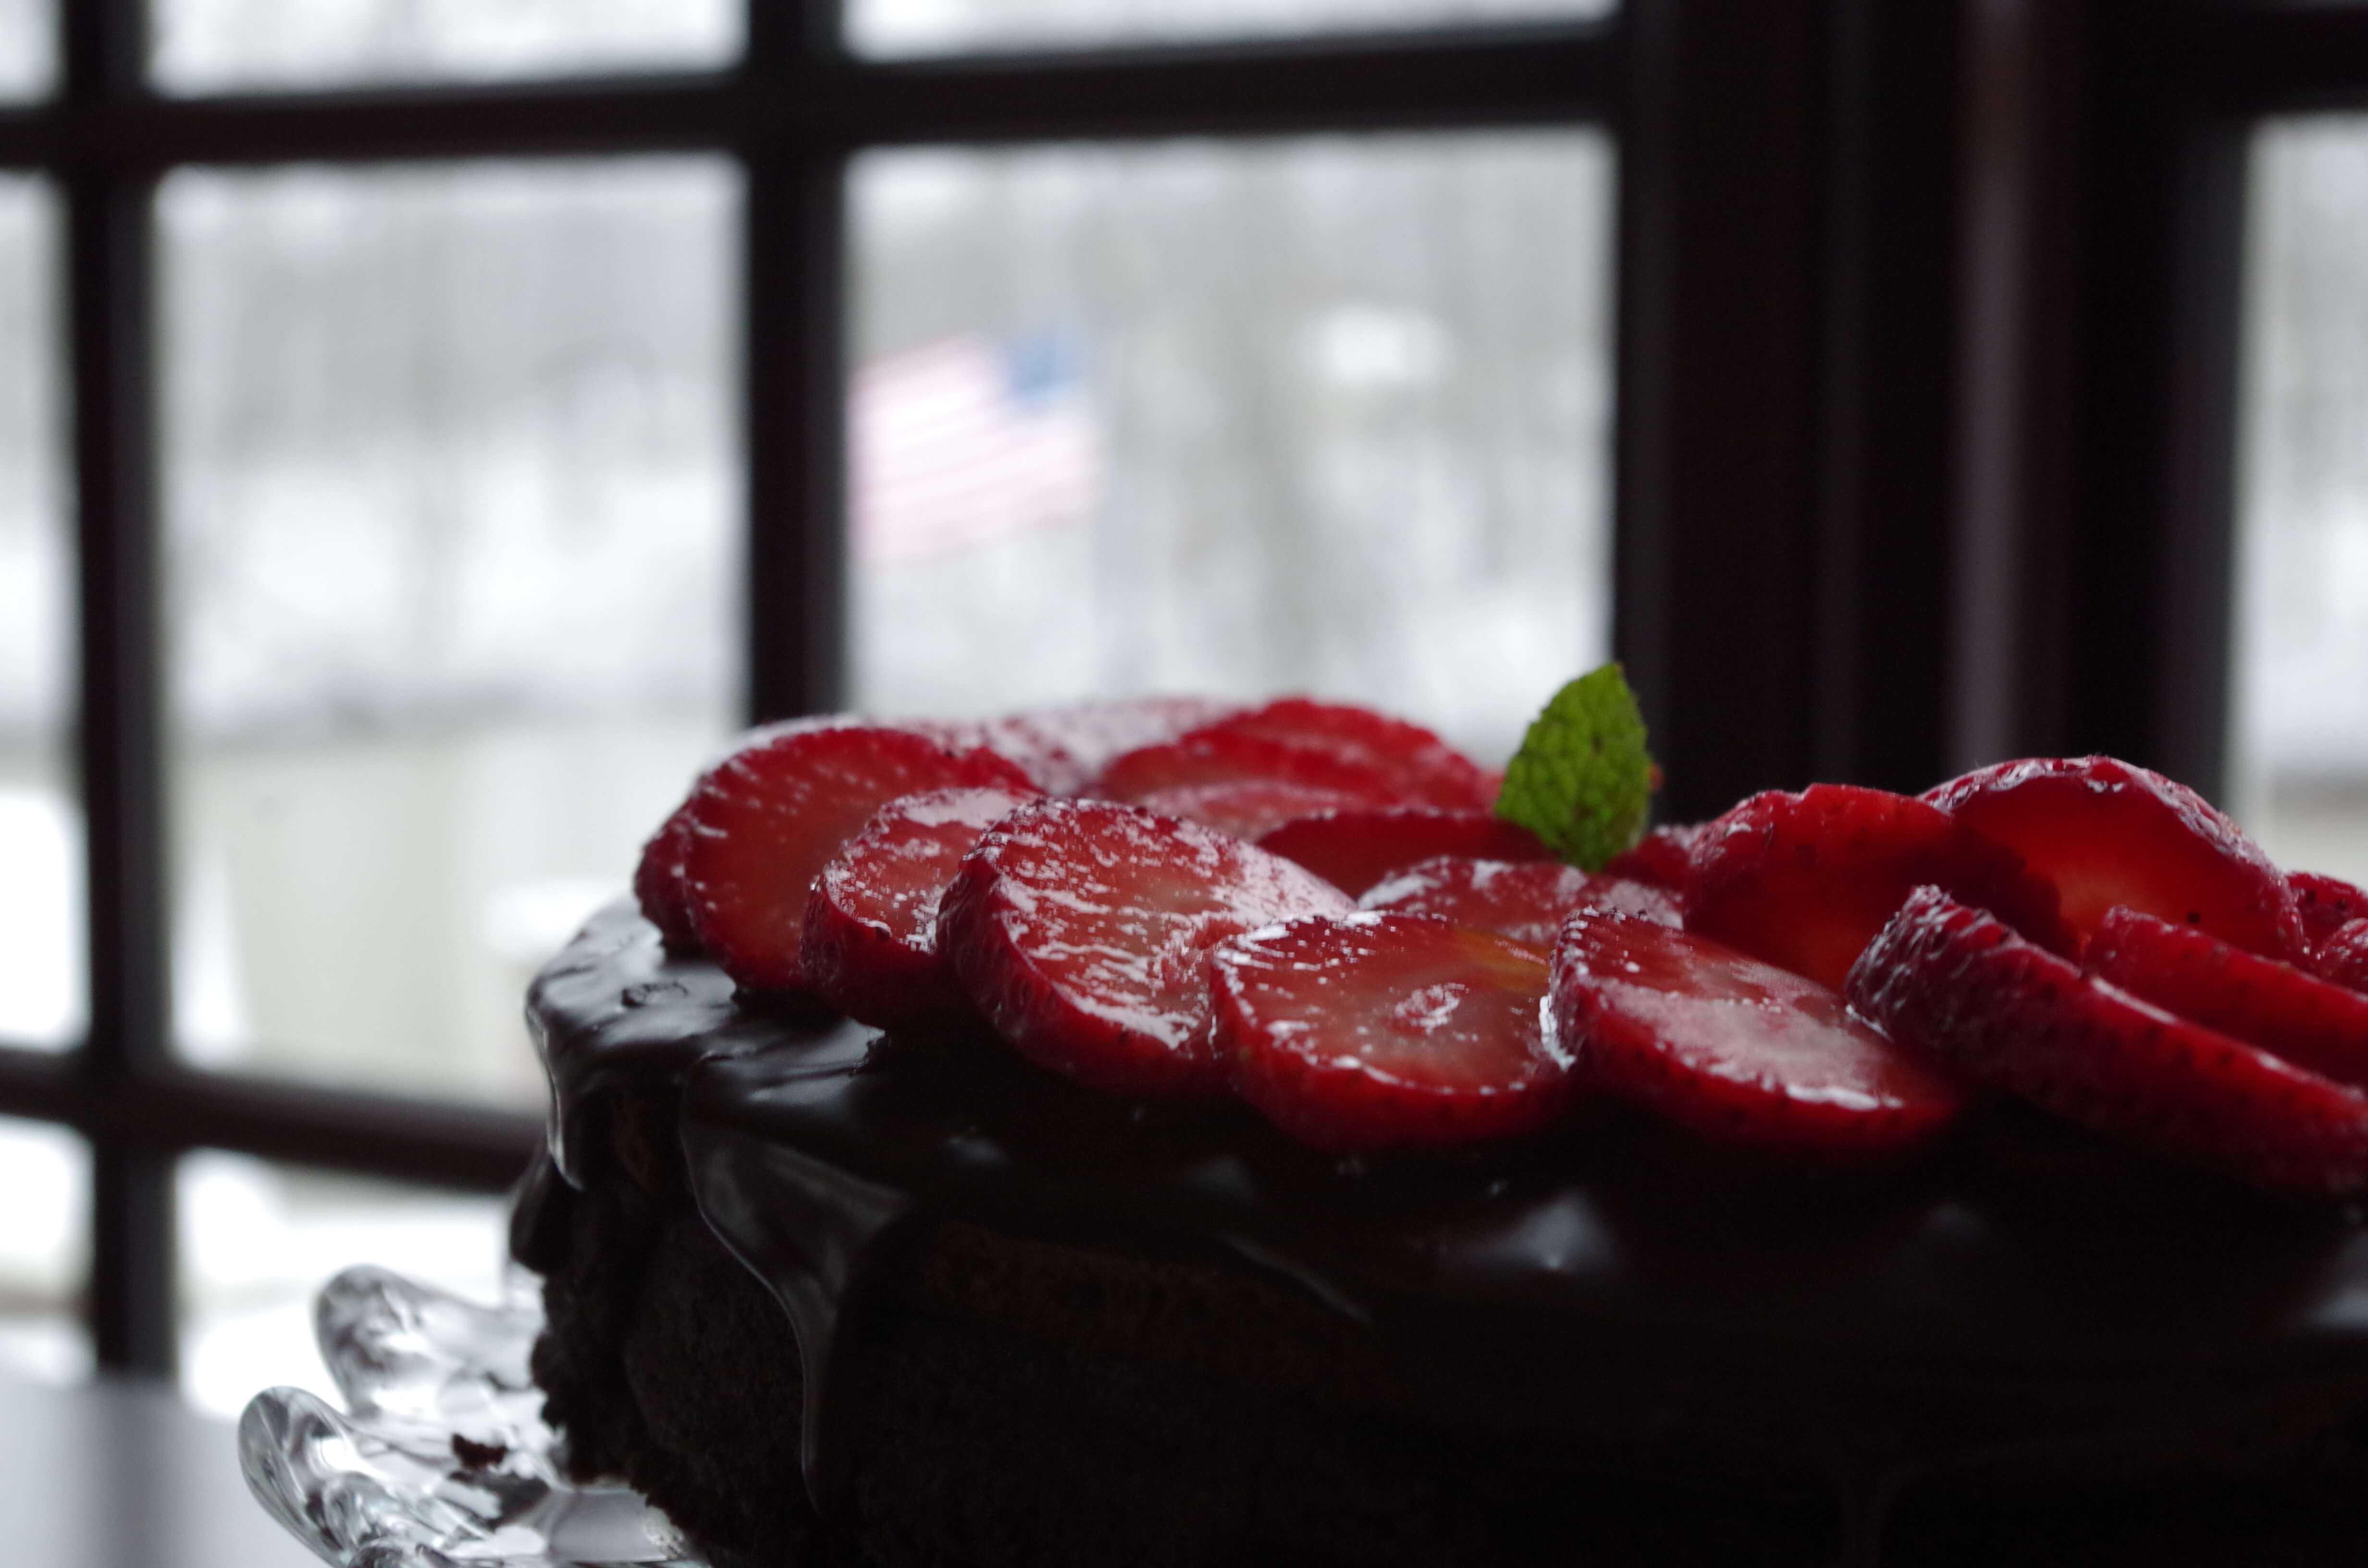
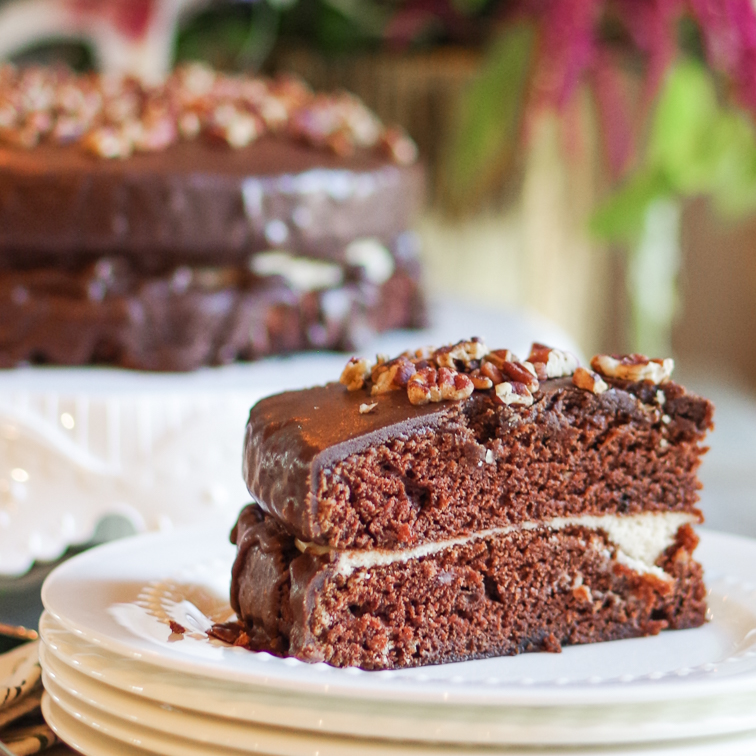
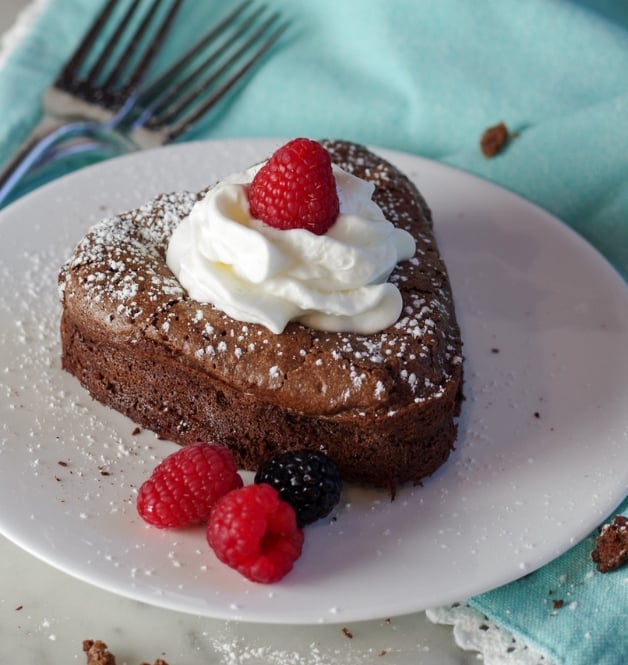
- Mint - Try whipping a couple of drops of a high-quality mint extract (or 1 tablespoon of fresh mint chopped into a paste) into it at the last moment. This would be great on lemon cupcakes, chocolate cake, chocolate tort, berries, or topping a chocolate milkshake.
- Coffee - Whip 1 teaspoon of instant coffee into the cream at the beginning. This would be fantastic on anything chocolate.
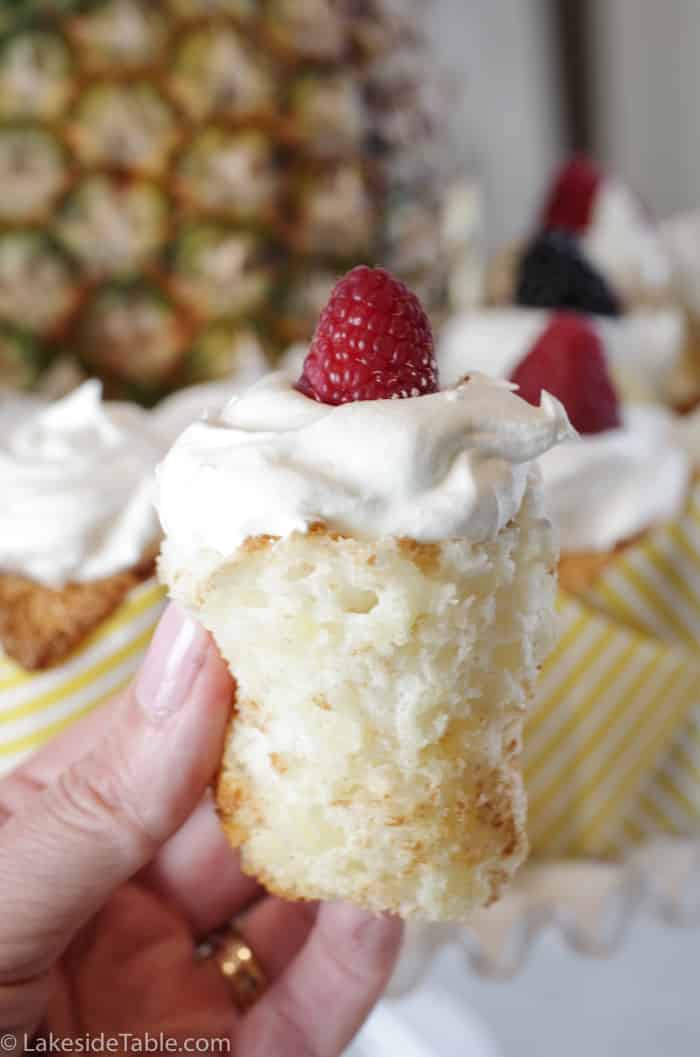
- For the Over 21 Crowd (1 tablespoon per 1 cup heavy cream) - Gently fold in your favorite liqueur at the end. Baileys Irish Cream for your Irish coffee or chocolate cupcakes, Frangelica flavored cream for a Nutty Irishman, Grand Marnier cream for gingerbread cake, and Spiced rum cream to dollop over your pineapple angel food cake.
How to Store Chantilly Cream
If you are not going to stabilize it, chantilly cream is best used immediately.
If you haven't stabilized it, it will exude some liquid and deflate within hours of refrigerating it. Place it in a sieve over a bowl to catch the liquid and use it as soon as possible.
It can also be refrigerated in an airtight container. Just know, it will weep and deflate, but the flavor will still be lovely.

How to Store Stabilized Chantilly Cream
- WARNING - Once the chantilly cream is stabilized, do not stir it. Stirring will break the cream, meaning it will separate and get runny. Not fun.
- Piped - Stabilized cream can be piped onto cupcakes and used to ice cakes immediately and will stay in perfect form for 2 to 3 days in the refrigerator.
- Piping bags - If you don't pipe it immediately or spread it onto your cake or cupcakes, the cream will keep beautifully in a rubberband-sealed piping bag for 2 to 3 days. Try to remove as much air as possible for the best results.
- Dolloping - Store it in the fridge in an airtight container for 2-3 days. When serving, simply spoon out the desired amount, but do not stir it.

Chantilly Cream Inspired by Julia Child
This recipe is only slightly different from the one found in Julia Child and Simone Beck's culinary manifesto, Mastering the Art of French Cooking Vol.1. The main difference is when the sugar and flavorings are added to the chantilly cream.
The other deviation is that in this post, we delve into how to stabilize the whipped cream. I highly recommend purchasing your very own copy of Mastering the Art of French Cooking (both Vol. 1 and 2). Julia's wit, humor, and expertise is not to be missed.
Top Tip
As tempting as it is to break out the electric mixer, don't. Whipping chantilly cream by hand gives you more control. It soon becomes clear how fast it goes from perfectly soft peaks to over-whipped stiff peaks.
FAQs
All you need is heavy cream, vanilla, and powdered sugar (icing sugar ) to make Chantilly Cream (whipped cream).
Chantilly cream is usually a little sweeter, although sweetness can be adjusted to taste. Whipped cream is typically whipped to stiffer peaks, and chantilly cream is softer and more billowy.
Chantilly frosting is made by stabilizing chantilly cream with mascarpone cheese. It is light and fluffy and is very good with a little added almond extract.
Use heavy whipping cream when making chantilly cream. In Australia, it's commonly called thickened cream, and in the UK, it's generally called whipping cream. Look for a cream with a fat content between 36% and 40%.
Related
Looking for other recipes like this? Try these:

Pairing
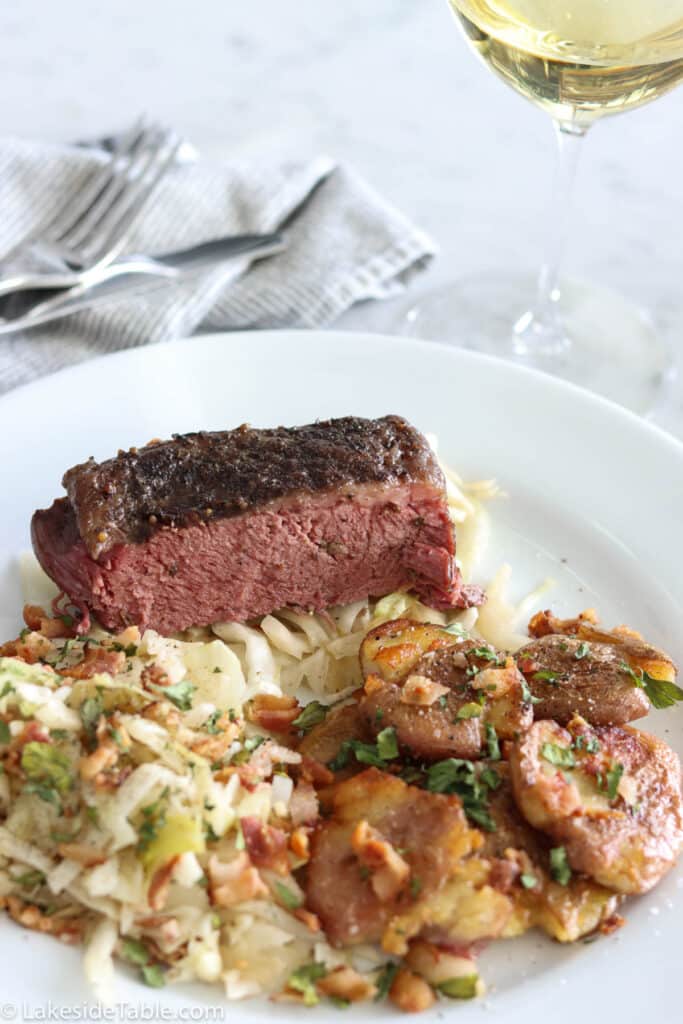
These are my favorite dishes to serve with [this recipe]:


Chantilly Cream Recipe
This Chantilly Cream Recipe (Creme Chantilly) is a lightly beaten cream that's quick and easy to make. It's light and sweet, which makes it the perfect topping for berries.
Ingredients
- 1 cup heavy whipping cream cold
- 1 teaspoon vanilla extract
- 1 tablespoon powdered sugar
Instructions
-
Combine all ingredients into a cold metal bowl.
-
Beat it with a large balloon whisk by hand (3-5 minutes) or an electric beater (2 minutes). Whip mixture until the cream leaves ribbons and traces through the cream.
-
Stir in additional flavorings of your choice (optional).
-
The chantilly cream should retain a soft, billowy form when dropped onto a surface.
-
Taste and add additional powdered sugar or optional flavorings. (See notes below).
Recipe Notes
To stabilize chantilly cream:
- Use an electric mixer.
- Whip ⅓ cup mascarpone cheese for every 1 cup heavy whipping cream, until loose and spreadable.
- Add heavy cream, powdered sugar, and vanilla, and beat on medium until it starts to thicken.
- Scrape the sides of the bowl and continue to beat until soft peaks form.
Optional Flavorings
- Liqueurs
- Seeds from a vanilla bean
- Fresh mint
- Orange zest
- Flavored extracts
- Instant coffee
- Cocoa powder